Want to impress your guests with a colorful and flavourful appetizer or meal sized board for your next gathering? Let’s talk about a few simple rules of thumb when crafting a grazing or charcuterie board.
Meat and cheese boards are not a new idea but in the past few years we have started to see this trend move into the restaurant world, and then weddings, events, and now into homes. Gone are the plastic cutting boards of garlic sausage, marble cheese and soda crackers. Replacing them are flat lays of local charcuterie, imported cheeses, fresh baked focaccia and crackers, and more spreads, dips, jams and pickles than your local Epicure provider.
First things first, let’s talk about the best part of grazing boards. They are ridiculously versatile and easily customizable to your group. Once you have the general concepts of a great grazing board down, you can customize it to whatever dietary needs you have in your group.
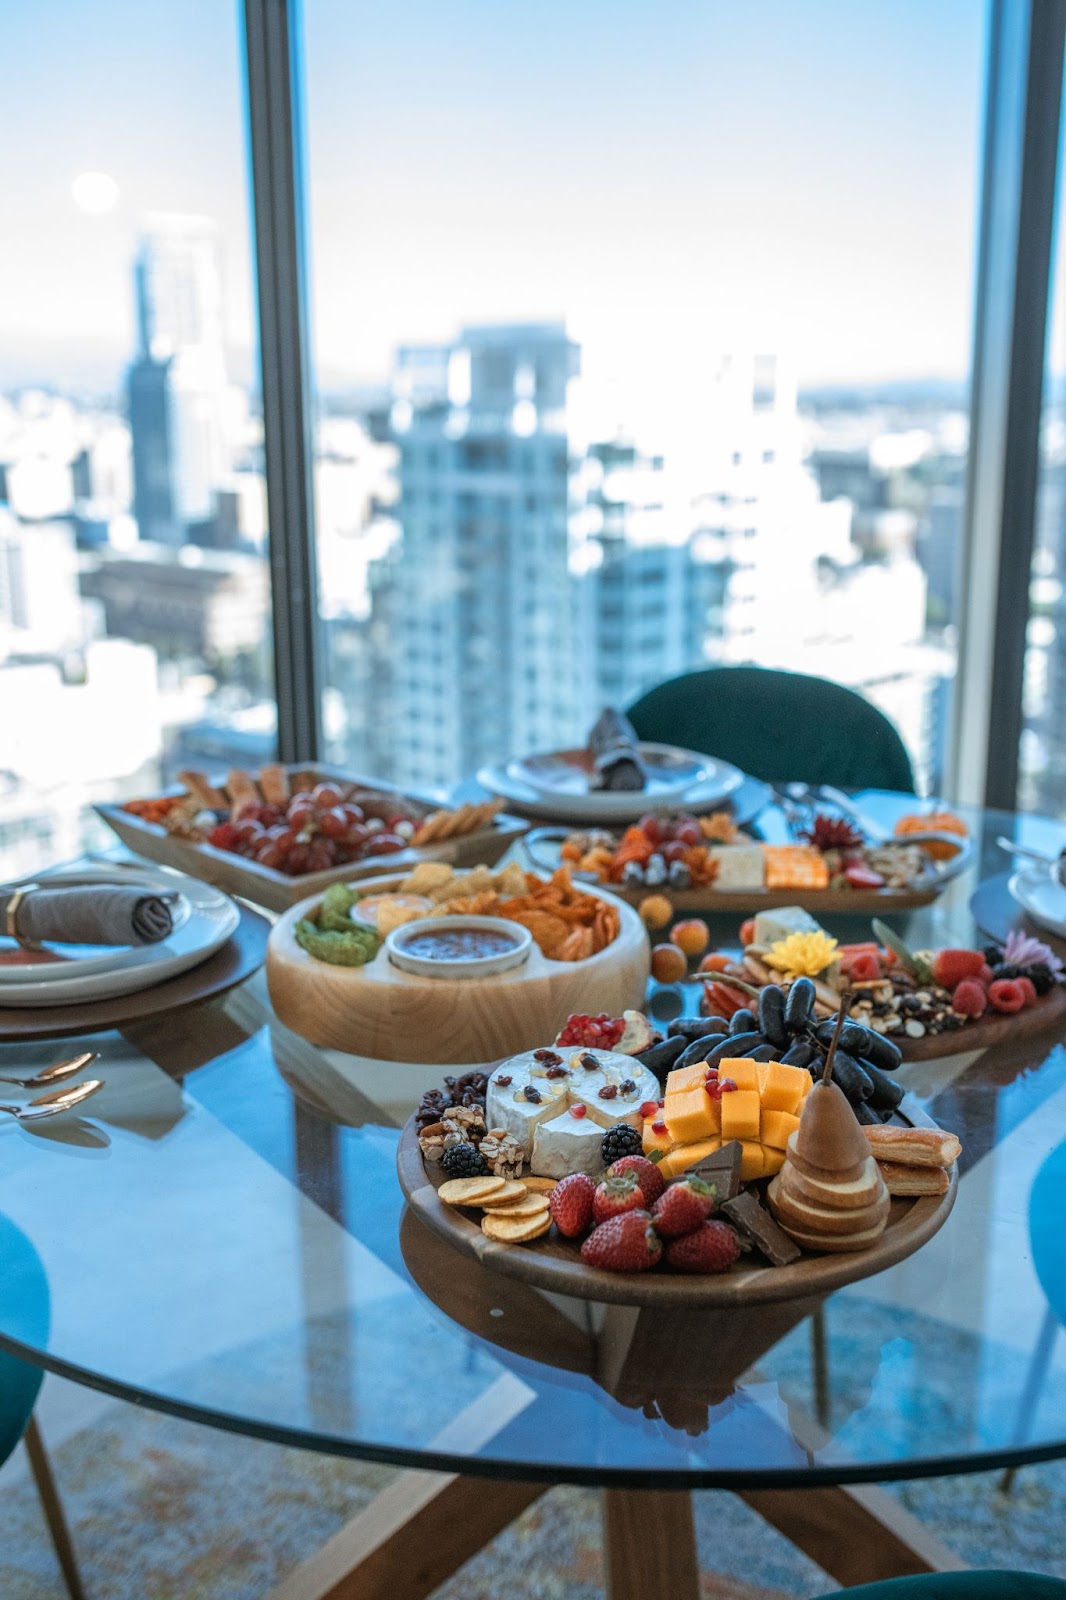
Also, these boards are easily scale-able! I’ve thrown together a small charcuterie board for a romantic evening for 2, and I have made boards for weddings with 100+ guests. The concepts and ratios are the same; once you have those down, it’s simple to execute a beautiful and delicious board.
Short on time? Most of these items can be picked up at the store; with some quick slicing and dicing, you will have a quick and appealing board! Have more time, and want to show off your culinary skills? I love to bake my brie cheese, pickle some veggies and serve homemade grain-free flax crackers.
The Basics
Selection:
Meats
For smaller boards, I advise a minimum of three meats. For larger boards, increase to a minimum of five different meat offerings. Variety is key, so try to pick a selection that includes a thinly sliced, fattier cut (such as a prosciutto, guanciale or mortadella), a dry cured salami (genoa salami or a spicy chorizo is nice), and something more spreadable (think nduja or a pate). Adding in a beef option like bresaola or a fish option like candied salmon will make your board more approachable to those who don’t eat pork.
I don’t mess around much with meat for grazing boards. I have a local butcher that specializes in whole animal butchering and charcuterie, and I let them do the preparation and slicing for me. Another option for throwing together a quick board is Costco. You can often find a variety of the above mentioned meats at a great price.
Swaps: There are some amazing vegan “butcheries” popping up now that can offer meatless alternatives such as vegan pepperoni and pulled jackfruit if you want to have a meat feel without the animal. You can also increase the number of proteins on your board by adding candied nuts, hummus dip, roasted chickpeas or smoked tofu.
Cheese
While there are no hard rules (we’ve moved away from having to include a bleu cheese on every cheese board), I do advise selecting a variety of cheeses with different textures and pungency. Some varied additions to your board can include a hard cheddar or cave-aged gruyere, a soft goat or brie cheese, and a stronger flavour profiled cheese like taleggio, roquefort or pecorino.
A large baked brie makes for a gorgeous focal point for your board. Cheeseballs are also a fun throwback feature cheese on a board.
Swaps: Tofu feta, cashew “cheeze”, daiya and other dairy free cheezes are great alternatives if you are creating a plant based or dairy free board.
Breads
Bread and cracker options are best kept fairly neutral in flavor but plentiful. A quick stop at the bakery for baguettes and focaccia and some thin wafer crackers such as water crackers or flax crackers are all you need.
Tip: I’ve found that bread and crackers are often the first to go on a grazing board. Have backup bread on hand that is sliced and ready to refill, or an extra pack of crackers on standby.
The Rest:
Finally, add in items from the remaining categories for a balanced board.
Sweet: berries, grapes, and other fresh sliced fruits
Spicy: chili roasted nuts, banana peppers, jalapeno stuffed olives
Salty: whole olives, salted nuts
Sour: pickled red onions, gherkins, sweet pickled beets, orange segments, marinated artichoke hearts, pickled garlic
Spreads: jams, chutney, mustards, olive tapenade, roasted garlic hummus
I only have one other rule when it comes to picking what ingredients you want on your board, and this is the most important one: No inedible garnishes. Inedible garnishes such as giant sprigs of rosemary, giant leaves of kale, or inedible flowers are wasteful and add nothing to your board. You can accomplish the same things with edible garnishes, and cut down on food waste and guest confusion.
Composition
Mise en place/”Everything in its place”
Gather all the ingredients of your board. Have everything sliced, diced, pickled or prepped, and ready to assemble. Do not leave anything for the guests to do while they are serving themselves. An entire wheel of brie or a partially sliced baguette may look nice, but is not practical for your eaters.
If you have the storage space, boards can be assembled with everything except the bread and crackers ahead of time. When ready to serve, remove boards from the fridge 15-20 minutes ahead of time for the meat and cheese to come to room temperature. Add the bread and crackers right before serving.
Start building!
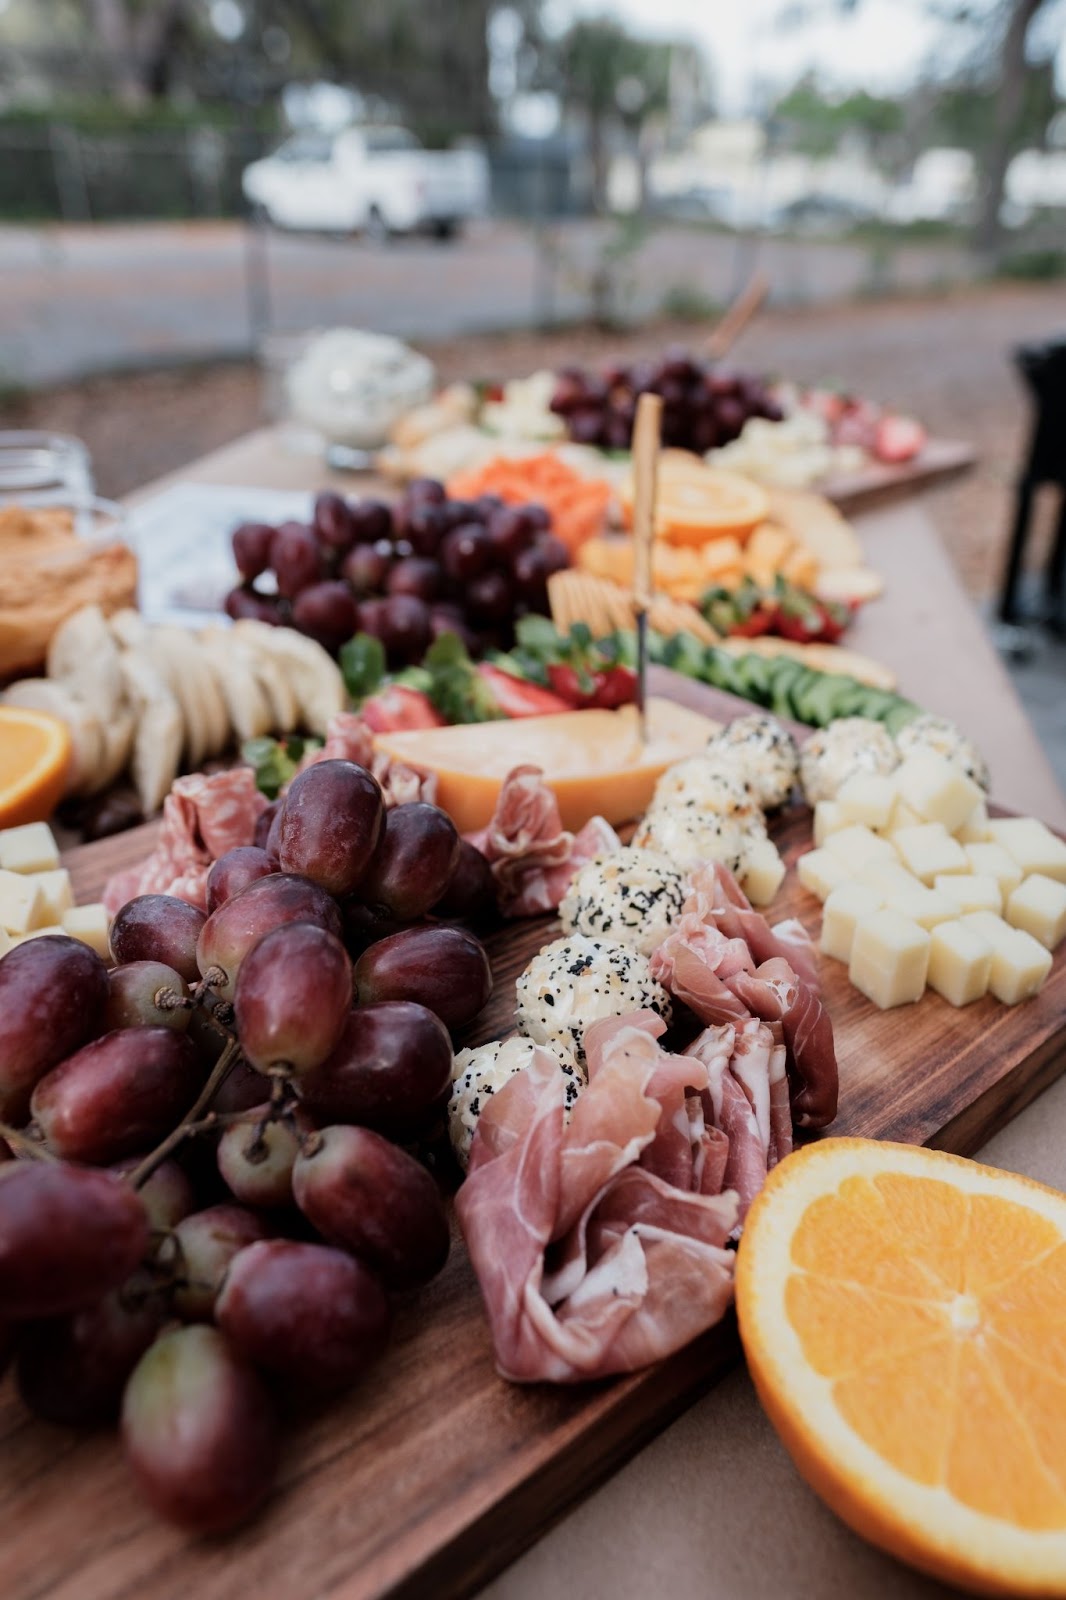
Starting with your meat and cheese, group these around your board. If your board has a focal point, like a baked brie or cheeseball, start there. Fill in the gaps with bread, vegetables and spreads.
To add height to the board, use small pottery bowls for dips, low dishes as risers, and bread and vegetables piled high.
Cherry tomatoes, pickled red onions, grapes, olives and mustard will add pops of color to your board; be mindful of where you are placing these.
Ratios and Planning

Often I find the most intimidating part of preparing food for a large number of people is the quantity. While it’s easier to guess for small groups, I would advise referencing this guide when preparing a board for a larger group of people. This ensures everyone will get to try each item on your board, and also prevents food waste if you misjudge how much charcuterie thirty people will eat.
Food Safety Tip: I don’t save leftovers from grazing boards, and advise you to discard any waste at the end of the event. Perishable food should not sit at room temperature for more than a couple hours. You could risk food poisoning if you refrigerated the leftovers and ate them at a later time. As well, I would advise if you are having a longer event, to make two or three boards, serving one at a time and storing the rest in the fridge to replenish as the time goes by. You want to be remembered for your gorgeous display, not because you made everyone ill!
For a grazing board being served as an appetizer or at cocktail hour, I serve about 3 oz of meat per person and 2 oz of cheese per person. For a dinner sized board, I increase these amounts to around 6-8oz of meat and 4-5 oz of cheese per person.
SAVE THIS CHART:

Serving Dishes and Utensils
Each meat and cheese should have it’s own fork or cheese knife. Use small tongs for the bread and larger items.
Small plates, napkins and forks should be available for each guest. While these are finger foods, it is inappropriate for guests to free-feed off the boards as it will increase the likelihood of spreading communicable illnesses.
For larger gatherings, it is helpful to label meats and cheeses. Small labels such as these chalkboard signs (Amazon link) can be placed directly on the board. Another option is a larger chalkboard placed by your grazing board.
As for the boards themselves, there are many options you can go with. For smaller gatherings, I love this round marble board (Amazon link) or a wooden cutting board. For larger groups, planks of hardwood or multiple smaller boards can be used.
I’m also very fond of building the board directly on a table, covered with brown parchment paper. When the night is over, simply roll up the parchment and discard, leaving very little cleanup and low investment.
How confident are you feeling about building the perfect grazing board for your next gathering? Drop me a line or send me your photos to share your creations!
xoxo
Jen


Great, informative article! Thank you for including a chart on how much to serve each guest!